
Holiday Dry Ice Tablescape
Holiday Dry Ice Tablescape
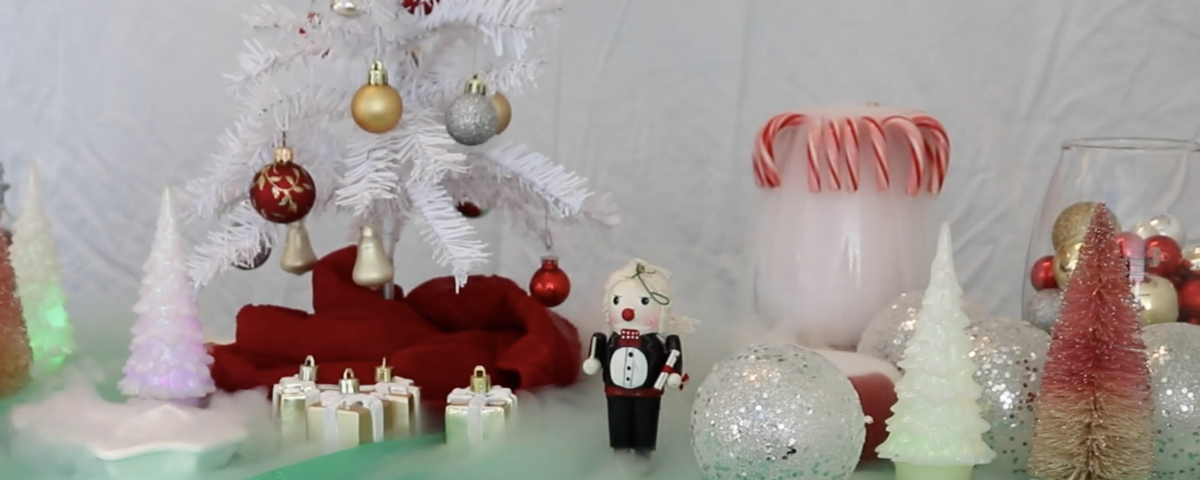
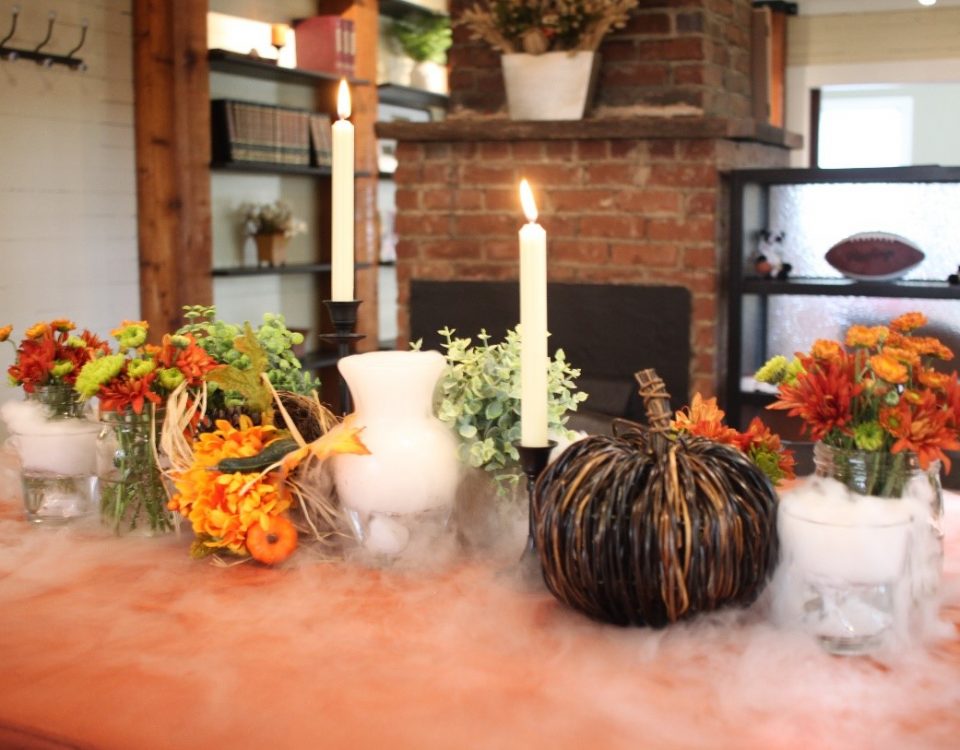
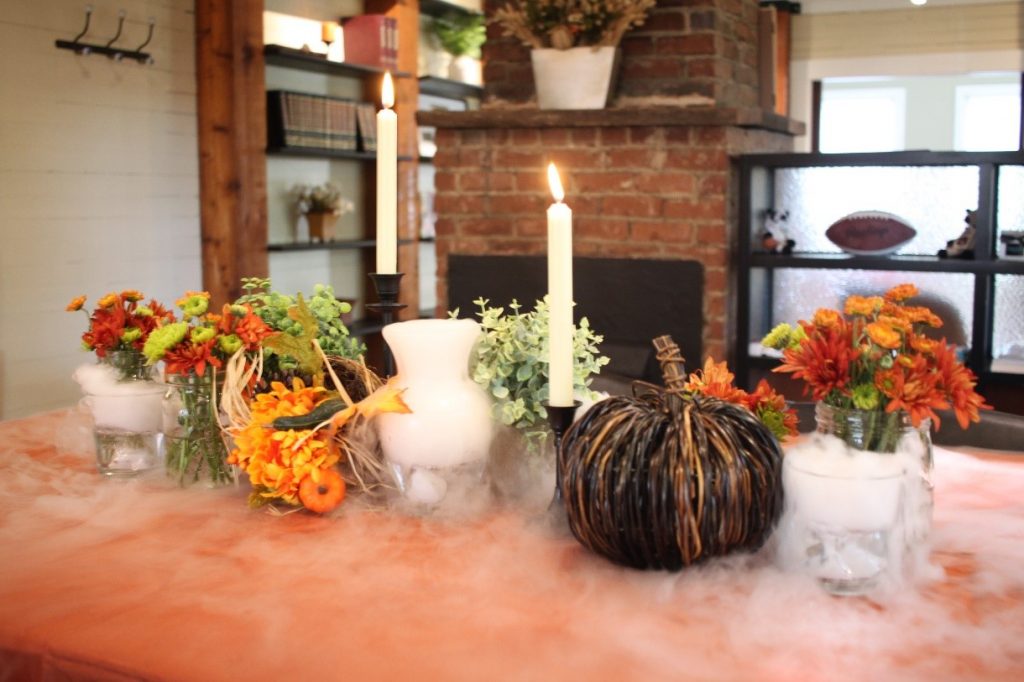
As the holiday season approaches, so does holiday party season. And an easy way to liven up your holiday décor or tablescape is with a magical fog of dry ice. A great way to also add a holiday glow to your table is to add string lights around the table before making dry ice magic!
Here’s what you’ll need:
• Penguin Brand Dry Ice®
• Holiday tree
• Holiday ornaments and other decorations
• Paper cups
• Protective gloves
• Safety goggles
• Tongs
• Hot water
• Mallet or hammer
• Scissors
• Dish towel
Instructions:
Step 1: Carefully break the dry ice into smaller cubes with a mallet or hammer.
SAFETY NOTE: To cube your dry ice from a block, wear protective gloves and eyewear, place the dry ice block in a towel, and carefully hit the block with a hammer or mallet. Do not chip at dry ice with a knife or other sharp object.
Step 2: Set out the outline of your tablescape. Utilize whatever holiday decorations you want, and place the shorter decorations first.
Tip: Use decorative ceramic and glass containers as part of your tablescape. These can double as dry ice containers later!
Step 3: Cut paper cups in half to act as dishes for your dry ice.
Step 4: Add your final decorations to your holiday tablescape and prepare for dry ice magic.
Step 5: Place dry ice into the cups with tongs, and then place the cups onto the tablescape.
Step 6: Pour hot water into all of your cups and watch the holiday magic pour out! Top off with dry ice or hot water as needed to keep the effects going.
Bonus Step: If you feel your table needs more pizazz, add in additional dishes of ice!
Instagram: @penguindryice
Facebook: @dryiceideas
Pinterest: Penguin Brand Dry Ice®
Twitter: @PenguinDryIce