Looking to add dramatic effects to your photos or play with perspective photography? Dry ice is a great and easy way to add mystical and dramatic effects to your photos before the post-editing process.
Captivating photography does not always require expensive props or equipment. Many household items, when staged in non-traditional ways, can make the perfect scene for any story you want to tell. Before applying these tips and tricks at home, make sure to read Dry Ice Safety!
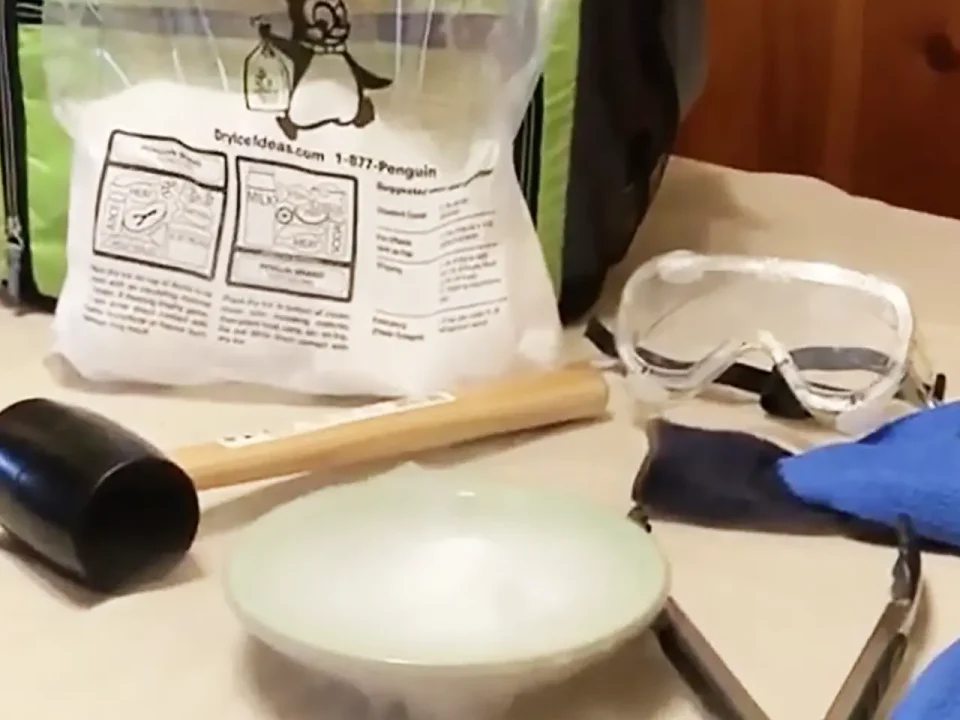
What you’ll need
Plenty of Penguin Brand Dry Ice
A hammer
Insulated gloves
Camera
Insulated container with ventilation
Silicone tongs/wooden utensils
Hand towel
Warm water
Plastic cups
Tweezers
Scissors
Tripod (necessary while also using dry ice)
Create the scene — Tip #1
Experiment and think outside the box when setting up your scene. With a bit of ingenuity, many scenes can be created right on your kitchen table using household items as props. Or, there are endless opportunities to get creative when utilizing the outdoors, such as creating a foggy, spooky lake out of a roadside puddle with dry ice floating over it. Whether you’re shooting action figures or a product, dry ice can create an instantly mystical, sci-fi vibe.
Light the scene — Tip #2
Using external lighting is a great way to add a dramatic effect to your scene — and the good news is there’s no need for fancy equipment. Anything from external flash equipment to shining your desk lamp on the subject can provide the right lighting to create playful, yet dramatic illusions. Dry ice moves rapidly and organically, so having a set-up that can focus on the subject is crucial. Tools such as shutter release cables or a timer or a camera with shutter speed options can be very helpful, but not necessary.

Create a realistic illusion — Tip #3
Illusions work best when all elements of the photo are realistically scaled. For example, if you are creating a cityscape background for your action figures, it wouldn’t make sense to have the skyscrapers be the same height as your rescue hero. Adjusting the foreground, middle ground and background can help with getting the angle just right.
Toy portraits — Tip #4
When taking photos of dolls or action figures, it may be helpful to turn on your device’s portrait setting to capture the figure’s facial detailing. A lens that can get close-up and focused is important when shooting small focal points. To capture multiple toy figures, make sure that they’re all the same distance away from the lens to ensure they’re all in focus.
Control the dry ice — Tip #5
The type of container you’re using to hold the dry ice can affect how much, how little and in which direction the fog effects flow. For more control, let the dry ice sublimate in a container with a smaller opening like a cup, vase or graduated cylinder. For a wider flow, let the dry ice sublimate in a container with a large opening such as a bowl. Placing a small handheld fan near the dry ice can also assist in controlling the direction of the flow. Additionally, placing the dry ice above the subject can create the effect of falling fog pouring into your scene.
Capture the scene — Tip #6
If you’re shooting by yourself, it can be difficult to juggle creating dry ice effects while trying to get that perfect shot. To make your job a bit easier, a tripod is a must-have tool. A tripod holds onto the angle of the scene you want to capture while allowing you to step away and adjust the props and occasionally add water to the dry ice. Tweezers can also be extremely helpful when small adjustments to the scene are needed.
Tell a story — Tip #7
If you’re shooting by yourself, it can be difficult to juggle creating dry ice effects while trying to get that perfect shot. To make your job a bit easier, a tripod is a must-have tool. A tripod holds onto the angle of the scene you want to capture while allowing you to step away and adjust the props and occasionally add water to the dry ice. Tweezers can also be extremely helpful when small adjustments to the scene are needed.
OUR ARCTICLES
Check out our other top quality content .

