Whether you’re packing for a weekend camping trip, a week at the beach or an off-road hunting excursion, Penguin Brand Dry Ice® can keep your food and drinks colder longer. Check out the dry ice packing techniques below.
Quantity matters — How much for how long?
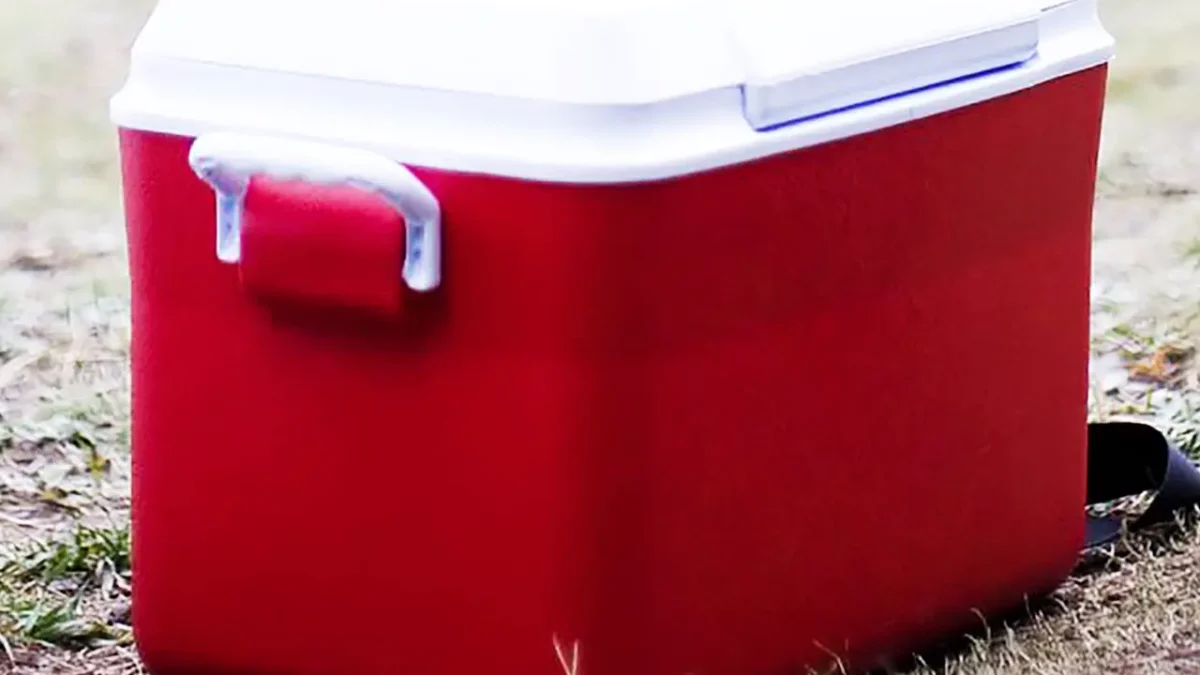
Generally speaking, 10 pounds of dry ice will last up to 24 hours in a standard 25-quart cooler—but there are a lot of factors at play. You’ll also want to consider the types of food you’re storing (frozen or refrigerated), the size of your cooler, any ambient conditions and the duration of storage.
| Cooler Size | 4 Hours | 12 Hours | 24 Hours | 48 Hours |
| 25 qts. | 10 lbs. | 10 lbs. | 10 lbs. | 15 lbs. |
| 50 qts. | 10 lbs. | 15 lbs. | 15 lbs. | 20 lbs. |
| 100 qts. | 15 lbs. | 20 lbs. | 25 lbs. | 35 lbs. |
The estimates above are a good start, but making your dry ice last is up to you. Keep it frozen longer by keeping your cooler out of direct sunlight, opening it as seldom as possible and adding extra insulation during the day.
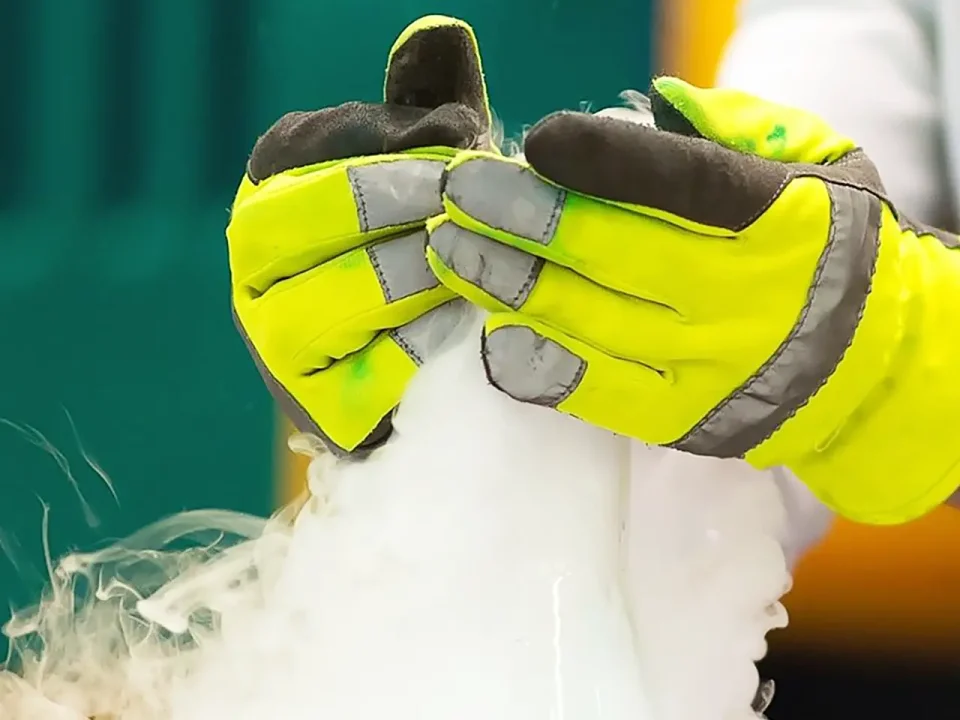
What is the safest way to handle dry ice?
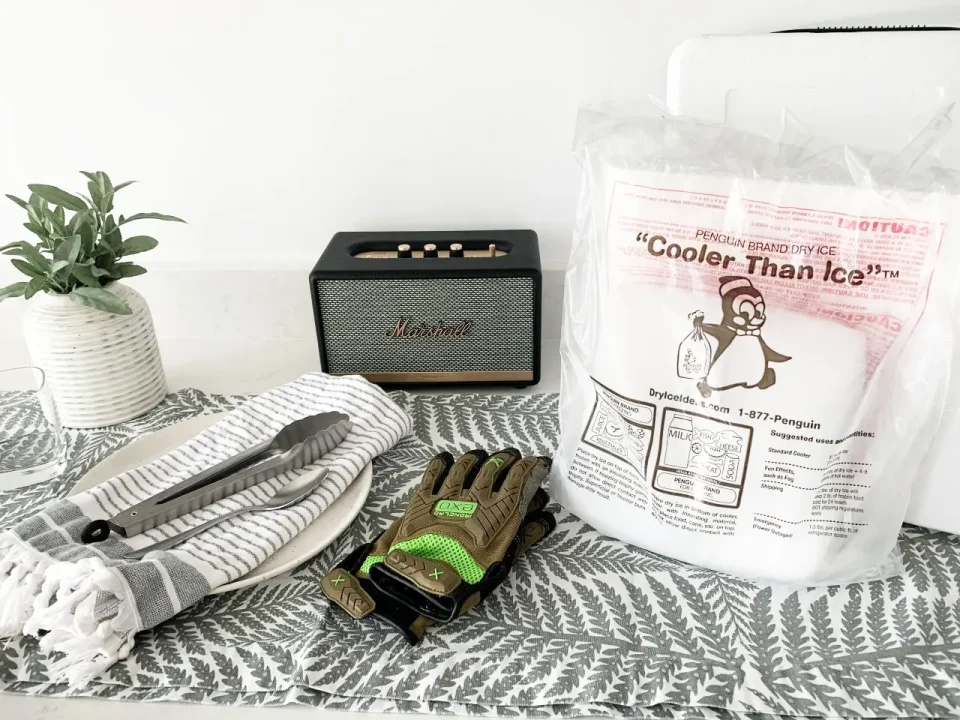
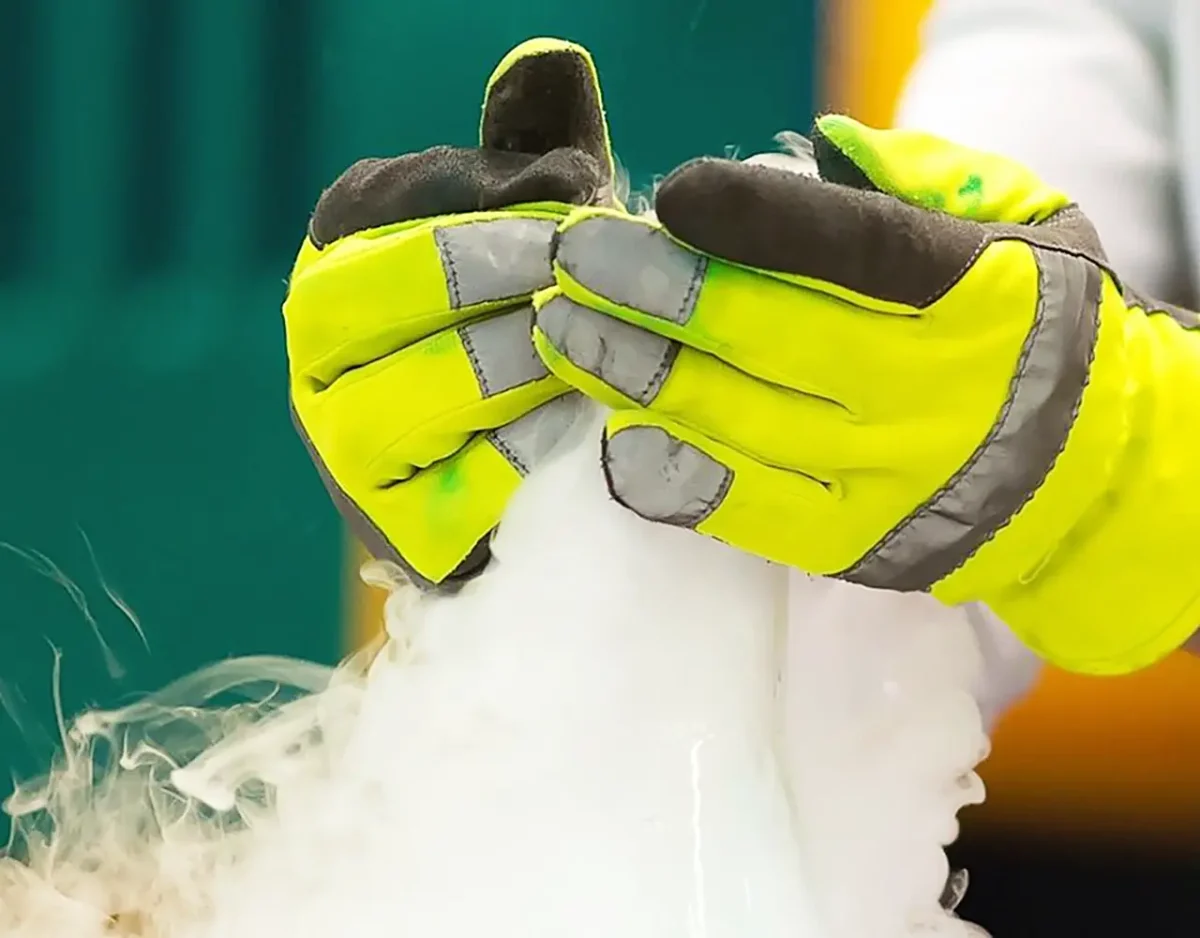
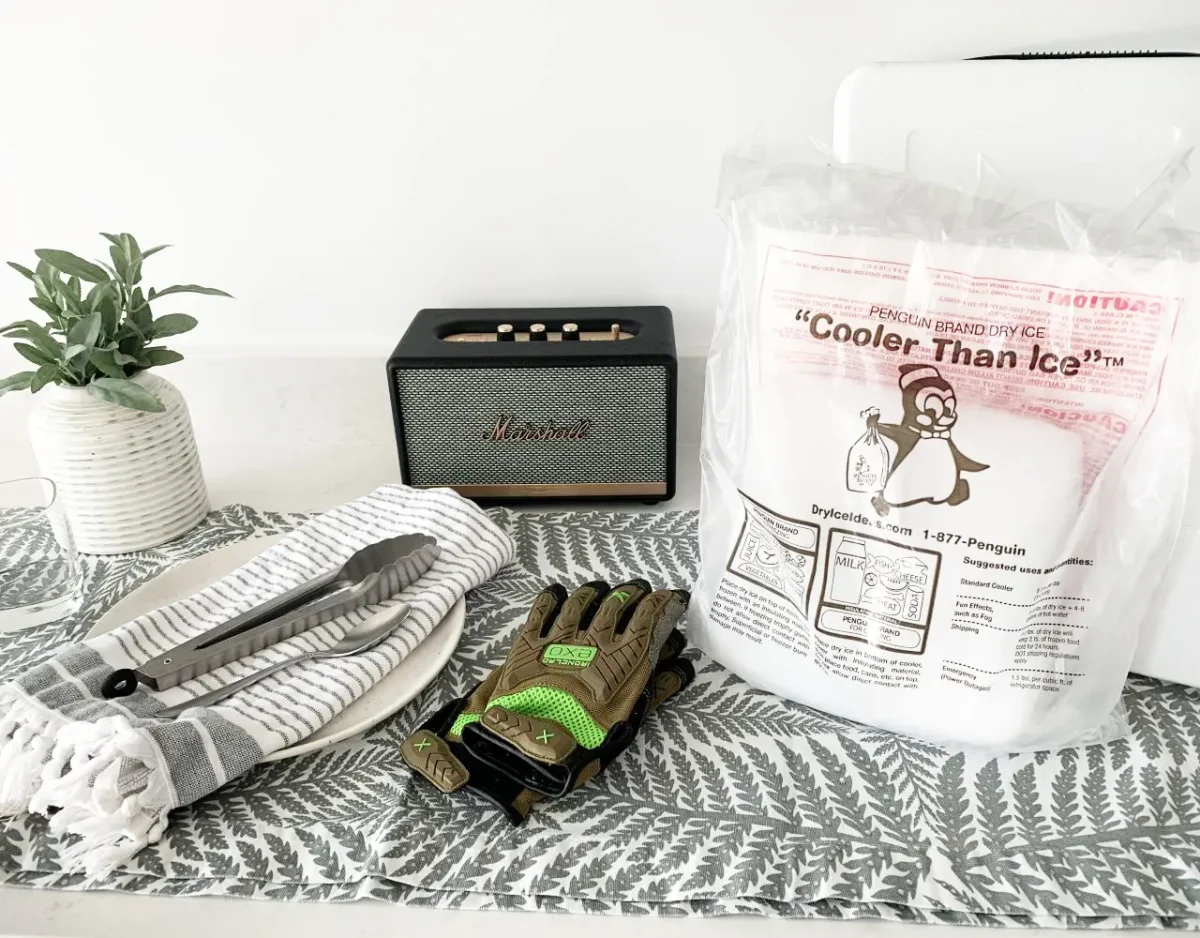
It’s pretty simple — just don’t touch it with your bare hands. Since dry ice can irritate your skin, avoid direct contact by using gloves, tongs or a towel whenever handling dry ice. For more helpful information about using dry ice carefully, read our safe handling guides.
Keep food chilled while camping video demo
How to — step by step
For items that don’t need to be frozen, use dry ice in conjunction with regular ice cubes. The dry ice will help to keep the wet ice from melting over time.
- Find and purchase Penguin Brand Dry Ice at a store near you.
- Insulate dry ice with newspaper, cardboard, etc.
- Place dry ice at the bottom of the cooler.
- Layer wet ice over dry ice.
- Add items to be chilled.
- Pour wet ice over top of items.
Keeping food frozen while camping video demo
When items need to stay frozen, ditch the wet ice and place additional dry ice on top.
When items need to stay frozen, ditch the wet ice and place additional dry ice on top.
- Place dry ice at the bottom of the cooler.
- Add a layer of insulation (newspaper, cardboard, etc.).
- Add items to be frozen.
- Add another layer of insulation.
- Place dry ice on top and close cooler.
And that’s it!
Find your dry ice by using our store locator and start packing today.
OUR ARCTICLES
Check our other top quality content .