
Roll Up Ice Cream
When the heat of summer hits, there’s nothing like a delicious cold treat to cool off! If you find yourself wanting to switch it up from the normal ol’ ice cream in a bowl or a cone, we have a fun new DIY idea with dry ice that you can try at home!
You may have heard about the trendy new type of ice cream sweeping the nation where ice cream is rolled up into neat little spirals instead of scooped — but did you know it’s surprisingly easy to make yourself with the help of a little dry ice? Instead of spending extra at a “fancy” ice cream parlor, learn how to make your favorite flavor combinations at home! Read on for instructions.
Before you start, make sure to review our safety guidelines for handling dry ice and that you have all the necessary tools on hand. Dry ice is extremely cold at -109° F and can cause serious injury if mishandled, so it’s always a good idea to be extra cautious.
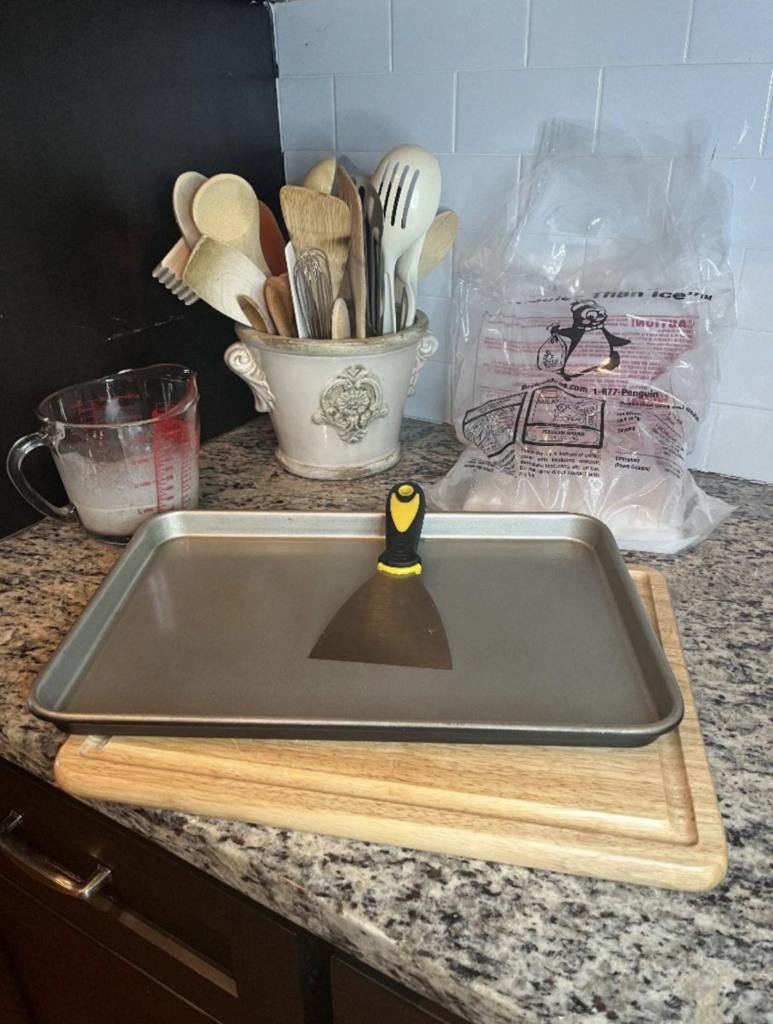
Here’s what you’ll need:
- Penguin Brand Dry Ice®
- Protective gloves
- Safety goggles
- Tongs
- Mallet or hammer
- 3′ wide metal spatula or scraper
- 2 similar-sized sheet pans or rimmed baking sheets
- 32 oz of thawed ice cream
Ingredients needed to make homemade ice cream:
- 16 oz of heavy whipping cream
- 1 cup of milk
- 1 ½ tbsp of vanilla extract
- ¼ cup of sugar
- Optional: Oreo crumbles or any other special ingredients
Instructions:
Step One: Carefully break the dry ice into small pieces with a mallet or hammer.
SAFETY NOTE: To cube your dry ice from a block, wrap the dry ice block in a towel, and on a solid, stable surface, carefully hit the block with a hammer or mallet. Do not chip at dry ice with a knife or other sharp object. Make sure to wear protective gloves and eyewear.
Step Two: While wearing gloves, spread the crushed dry ice onto a metal sheet pan or rimmed baking sheet.
Step Three: Pour your ice cream base onto the other metal sheet pan or rimmed baking sheet. Ensure the ice cream is less than ¼ inch thick, just covering the bottom of the pan.
Step Four: Use a spatula or paint scraper to evenly spread your ice cream base flat across the sheet.
Step Five: Place the ice cream-filled pan on top of the dry ice pan. Let the ice cream pan sit on top of the dry ice while the ice cream begins to freeze and solidify.
Tip: If the ice cream gets too frozen, take the pan off the dry ice for 3-5 minutes to soften.
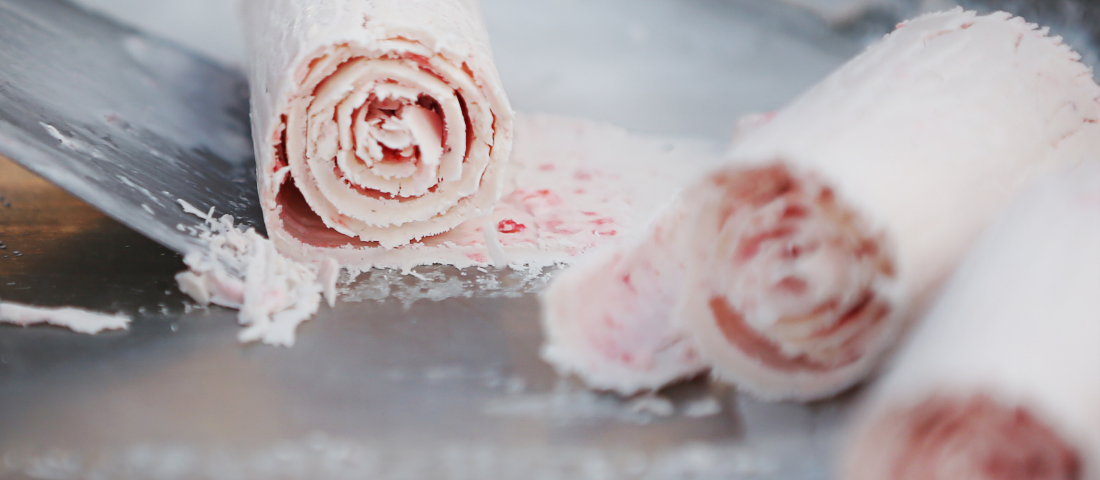
Step Six: Once the ice cream has come close to freezing, use your spatula or paint scraper to gently scrape up and push the ice cream from the bottom to the top of the pan, into a tight roll.
Tip: If the roll is not holding its shape at the bottom of the pan, you can use a butter knife to help it roll up.
Step Seven: Place your rolls into a serving dish and add toppings of your choosing.
Step Eight: Enjoy!
While you still have Penguin Dry Ice on hand, why don’t you try some of our other uses for dry ice in the summertime? Check out our other blog posts:
How to Pack a Picnic Basket with Dry Ice
How Dry Ice Makes Festival Camping Easy
How to Freeze Fresh-Caught Fish with Dry Ice
Using Dry Ice to Keep Food Cold While Camping
Instagram: @penguindryice
Facebook: @dryiceideas
Pinterest: Penguin Brand Dry Ice®
Twitter: @PenguinDryIce