
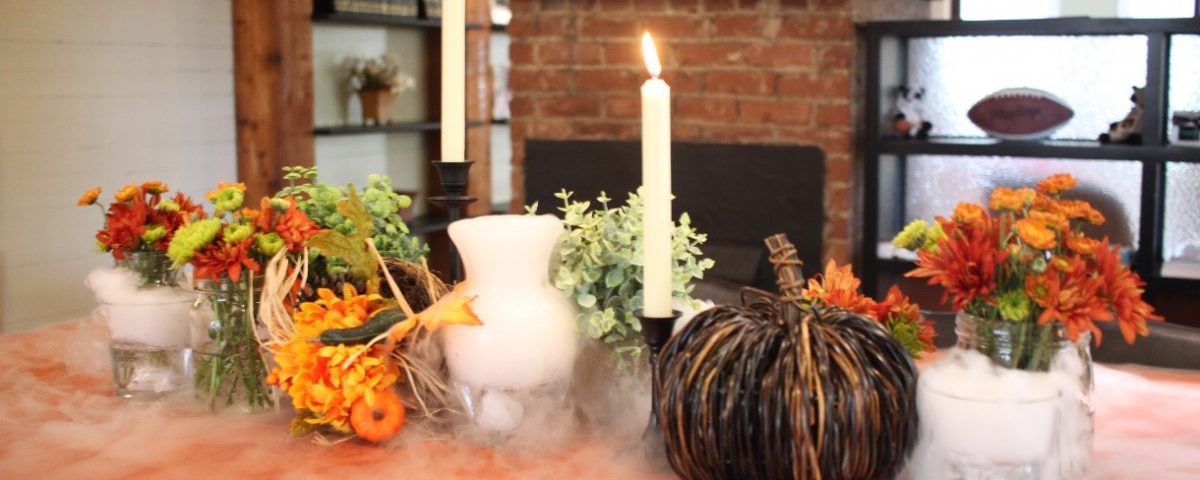
Thanksgiving Dry Ice Centerpiece
The season of good company, delicious meals, sharing stories around the table and giving thanks is upon us. Gatherings like this only happen so often, so why not make it extra special?
Though this season joyously brings people together, hosting can be quite stressful. Inviting your loved ones to gather in your home can often be a juggling act, but creating a whimsical and festive tablescape is a great way to put your hosting skills on display while elevating the entire meal for your guests.
To take a little bit of the burden off of hosting, we have an easy table centerpiece idea using dry ice that is sure to impress guests and help make your dinner a great memory! Read on for the supplies needed and instructions to make this misty masterpiece!
Before you start, make sure to review our safety guidelines for handling dry ice. Dry ice is extremely cold at -109° F and can cause serious injury if mishandled, so it’s always a good idea to be extra cautious.
Now, let’s check out the materials you’ll need. You may have many of these items around your house already!
Here’s What You’ll Need:
- Penguin Brand Dry Ice®
- Pumpkins, candles, and other decorations
- Several Small flower arrangements
- Small glass vases or cups
- Protective gloves
- Safety goggles
- Paper cups
- Tongs
- Hot water
- Mallet or hammer
- Scissors
- Dish towel
Instructions:
Step 1: Carefully break the dry ice into smaller cubes with a mallet or hammer.
SAFETY NOTE: To cube your dry ice from a block, wrap the dry ice block in a towel, and on a solid, stable surface, carefully hit the block with a hammer or mallet. Do not chip at dry ice with a knife or other sharp object. Make sure to wear protective gloves and eyewear.
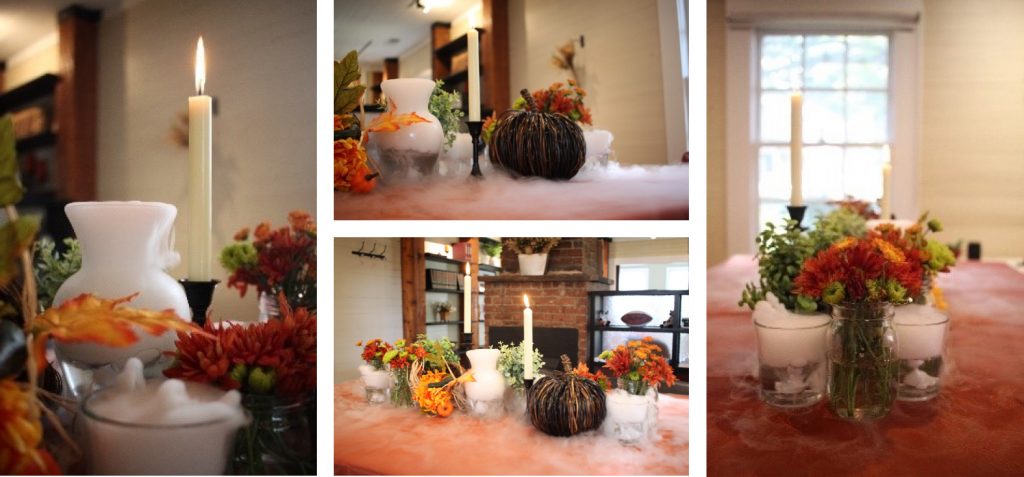
Step 2: Set out the outline of your tablescape. Gather your flower arrangements and any other decorations, then place the shorter decorations first.
Tip: Use decorative ceramic and glass containers as part of your tablescape. These can double as dry ice containers later!
Step 3: Cut paper cups in half to act as dishes for your dry ice.
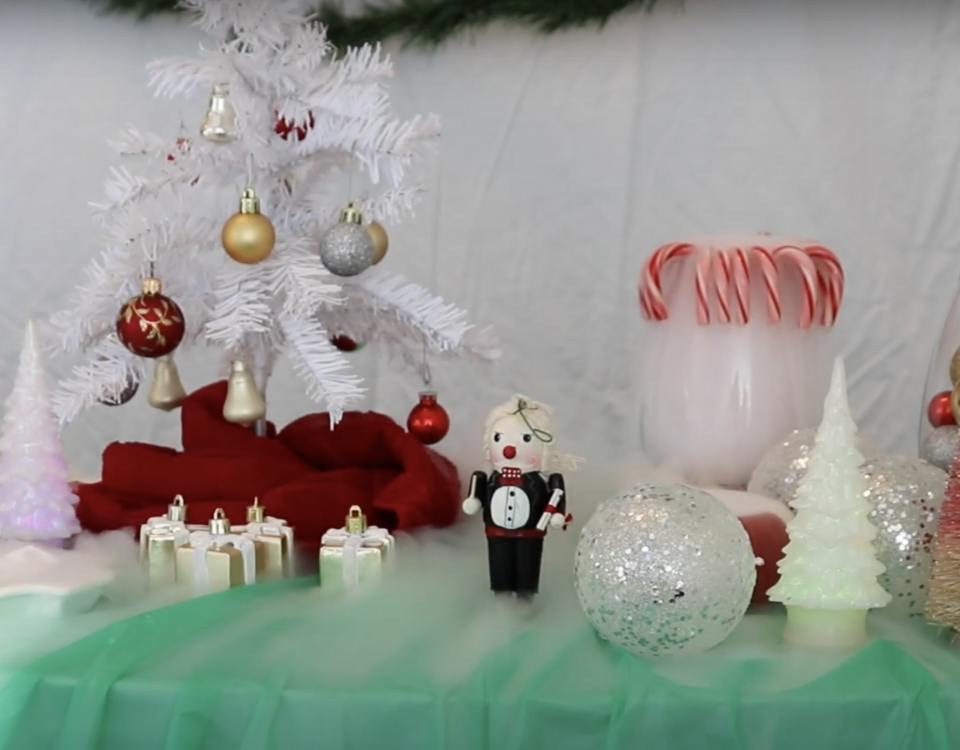
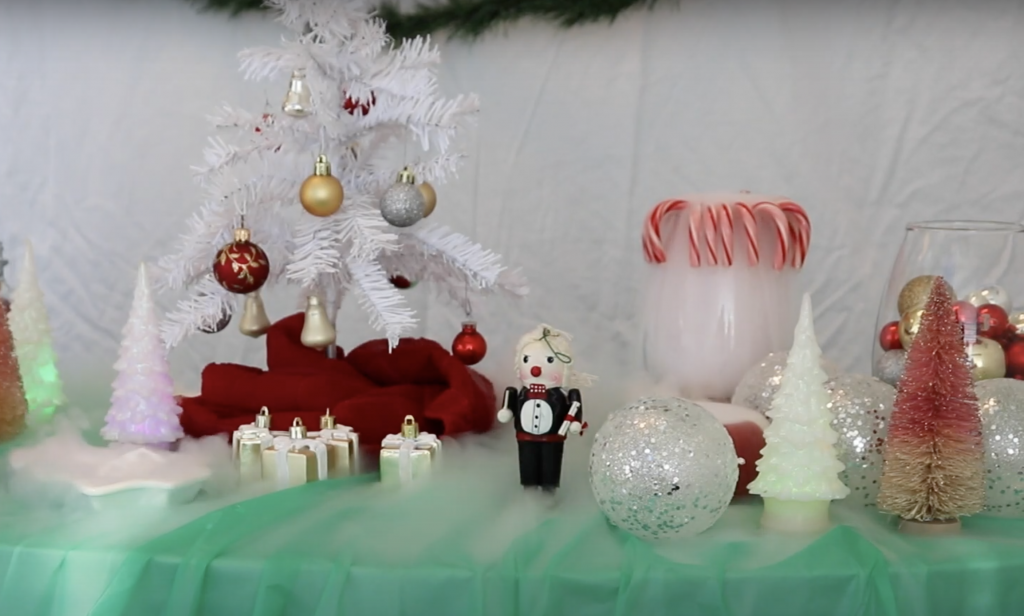
Step 4: Add your final decorations to your holiday tablescape and prepare for dry ice magic.
Step 5: Place dry ice into the cups with tongs, and then place the cups onto the tablescape.
Step 6: Pour hot water into all of your cups and watch the holiday magic pour out! Top off with dry ice or hot water as needed to keep the effects going throughout your meal If you feel your table needs more pizazz, add in additional dishes of ice!
Bonus Tip: Check out our dry ice fog blog post for best practices to maximize your fog effects.
Instagram: @penguindryice
Facebook: @dryiceideas
Pinterest: Penguin Brand Dry Ice®
Twitter: @PenguinDryIce